
I ljuset från min smedja var jag på väg att skapa något som sammanflätade smidets taktila konst med historiens djupa rötter – en nyckel från vikingatiden. Mitt val av material var en robust 6 gånger 6, ett tåligt och kraftigt material för den invecklade processen framöver.
Som varje smed vet är inga smedjor den andra lik. Därför hade jag med mig min pålitliga anteckningsbok, en logg över alla mina tidigare skapelser, deras mått och andra anteckningar som kunde vägleda mig i att replikera samma storlek och essens som de tidigare smidda föremålen.
Dagens projekt handlade inte bara om att smida. Det inkluderade också en process som kallas svetsning. Först skapade jag en skarv. Detta följdes av att markera specifika punkter på materialet som senare skulle bilda kärnan i min nyckel. Denna del av nyckeln var avsedd att svetsas, därav det första steget att skulptera en skarv.
Med markeringar gjorda cirka 30 millimeter från änden började jag dra ut järnet till cirka fyrtio millimeter, och rundade det fint för att forma toppen av nyckeln. Här, i elden från smedjans härd, började nyckelns ögla ta form.
Därefter kom processen att svetsa nyckelns ögla. Dess komponent av mjukt stål innebar att jag inte behövde borax. Istället skulle höga temperaturer agera som flussmedel.
Att känna igen rätt temperatur för att svetsa kan vara en fråga om erfarenhet. En viktig indikator var en nästan vit eld i mitten av min smedja, och när mitt arbetsstycke speglade den färgen visste jag att det hade nått önskad temperatur. Detta följdes av en långsam och stadig uppvärmning av stycket noggrant, inte bara ytan.
Efter svetsprocessen arbetade jag med att göra skarven mer subtil. Genom att smida på hornet pressades skarven in för att göra den mindre synlig, vilket absolut inte innebar att den helt skulle försvinna.
Jag anser att att visa upp hantverksprocessen, som bevis på svetsningen eller de handstansade hålen, tillför värde och autenticitet till varje unikt stycke.
Nästa steg innebar att förfina öglan, och värma den till svetstemperatur en sista gång för att säkerställa en sömlös svetsning och göra det färdiga stycket slätare.
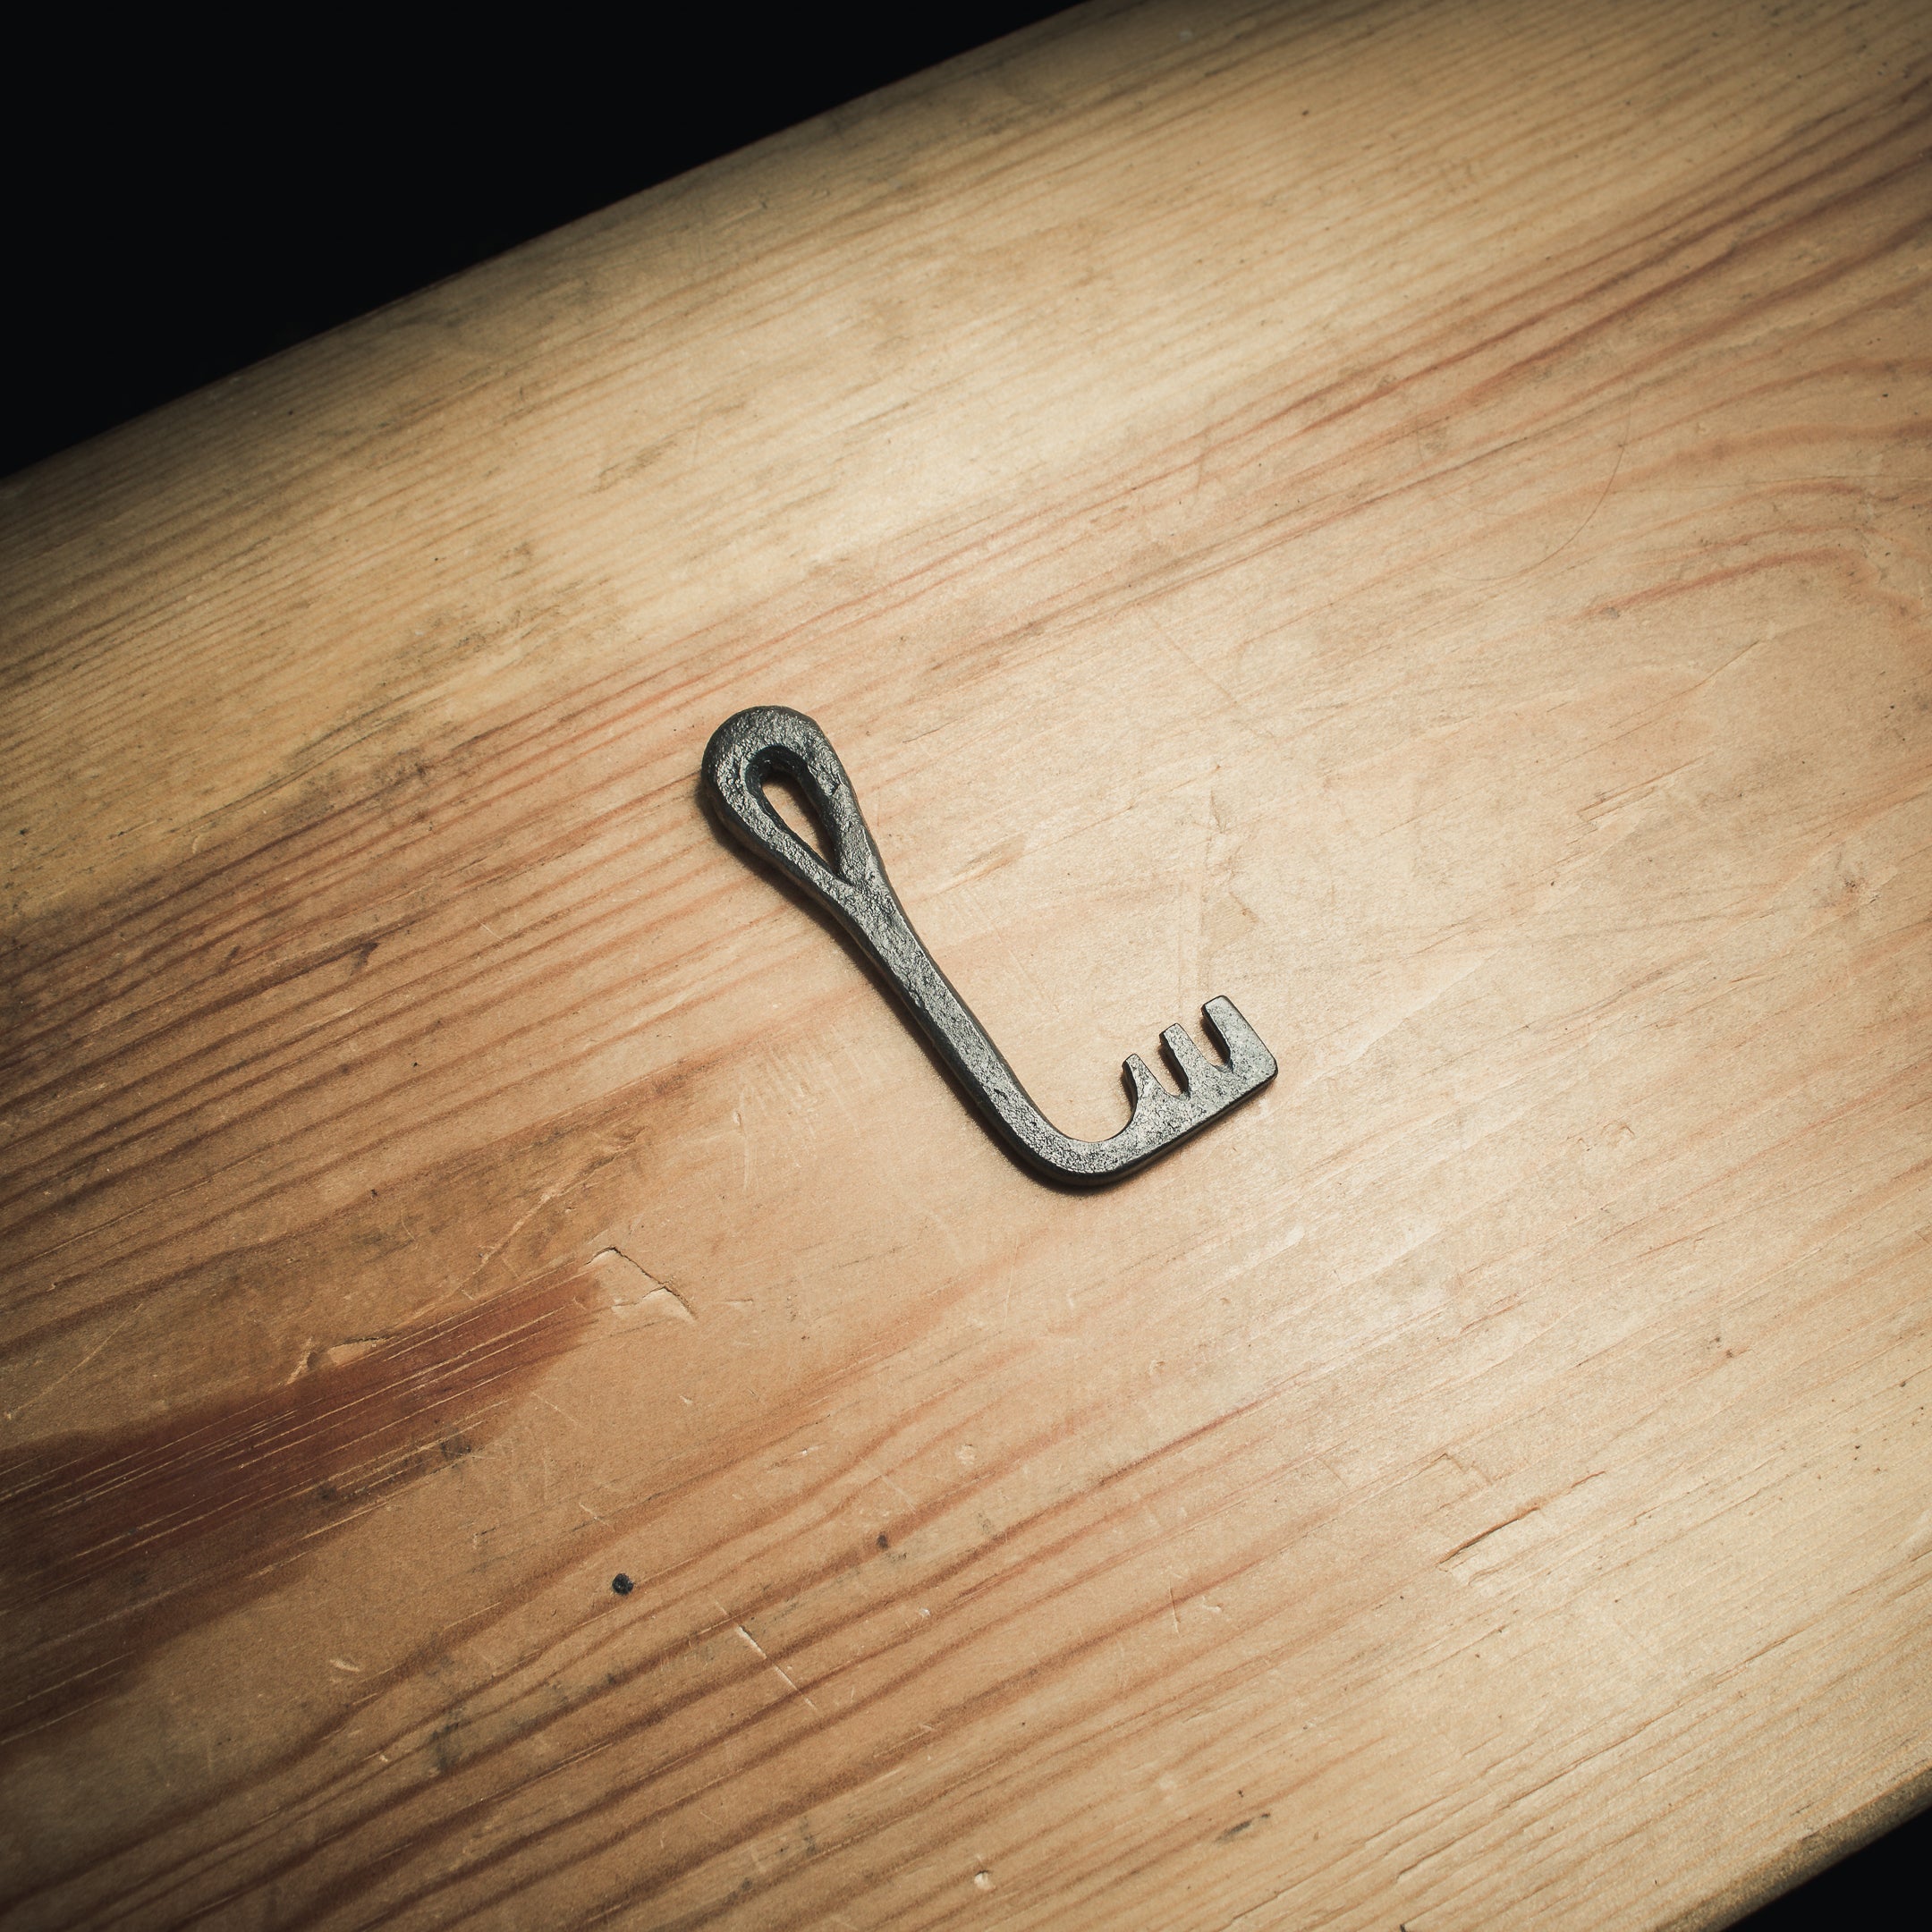
Därefter var jag redo att skapa nyckelns tänder. En avsättning gjordes 30 mm från nyckelns ände, och en jämn avsmalning formades, vilket gav upphov till vikinganyckelns unika tänder. Jag kapade sedan av den vid 15 mm.
Med tänderna på plats var nyckeln nästan klar. Men för att göra den unik planerade jag en gravering – varje del en berättelse etsad i historien.
Efter några sista förfiningar och graveringar uppstod denna kraftsymbol, en nyckel från vikingatiden, från eldens och järnets djup, en symbol för konst, historia och stoisk motståndskraft.